
Table of Contents Show
“Hollow Knight: Silksong” is one of the most anticipated games of this decade. It managed to blow fans’ expectations out of the water and received raving reviews. However, no game is perfect.
While “Silksong” has plenty of charming bosses, some are definitely lower in quality and less enjoyable to battle. Here are the top ten worst bosses of “Silksong” and tips on how to beat them to make your experience a little bit better.
Mid-Tier Battles
These bosses are more average than terrible, but compared to other bosses in “Silksong,” they’re rather boring. Simple footnotes in a larger, greater experience.
10. Disgraced Chef Lugoli
Lugoli, a boss found in Sinner’s Road as part of the Great Taste of Pharloom wish, is a rather inoffensive boss, but the fact that it’s a chef-themed boss and has such a boring moveset is incredibly disappointing, especially when “Silksong” is full of creative bosses.

Their simple slam, booty shove, ladle slap, and maggot diving attacks don’t reflect their chef theme. Despite not reflecting Lugoli’s theme, their attacks are rather funny, and the fight does not consist of only three moves and some summoned mobs. The small gauntlet at the beginning of the fight only features two enemies, so it isn’t too difficult to beat.
Tips
- Cross Stitch: Add some fun to this fight with the Cross Stitch! The Cross Stitch, “Silksong’s” counter move, is one of the Silk Skills, the game’s special moves. You can get the Cross Stitch by defeating Phantom in The Mist. Lugoli is slow and their attacks are well telegraphed, making them easy to counter.
- Hit The Muckmaggots: The Muckmaggots are an enemy found in Sinner’s Road, Bilewater, and Purified Ducts. One of “Silksong’s” most infuriating enemies, they will constantly eat your silk if you touch them, preventing healing and Silk Skills. The Muckmaggots can be smacked, which makes them go straight down. This can make them easier to dodge.
- Use Wreath Of Purity: The Wreath of Purity, which can be obtained in the Putrified Ducts, is the best blue tool for this boss. It allows you to be hit by maggots up to three times without getting infected.
- Use Tools: “Silksong’s” design encourages the use of tools. Aerial tools work well against Lugoli, but Tacks, which are given by Crull and Benjin in Sinner’s Road for completing the Roach Guts wish, work against them too.
9. Father Of The Flame
Father of the Flame is a contender for “Silksong’s” most unique boss, but that doesn’t make it a good one. Found in the Wisp Thicket, Father’s first phase has only one attack: a tracking fireball found throughout the Wisp Thicket. Its second phase, in which it starts spitting fire everywhere, makes it a more interesting boss.
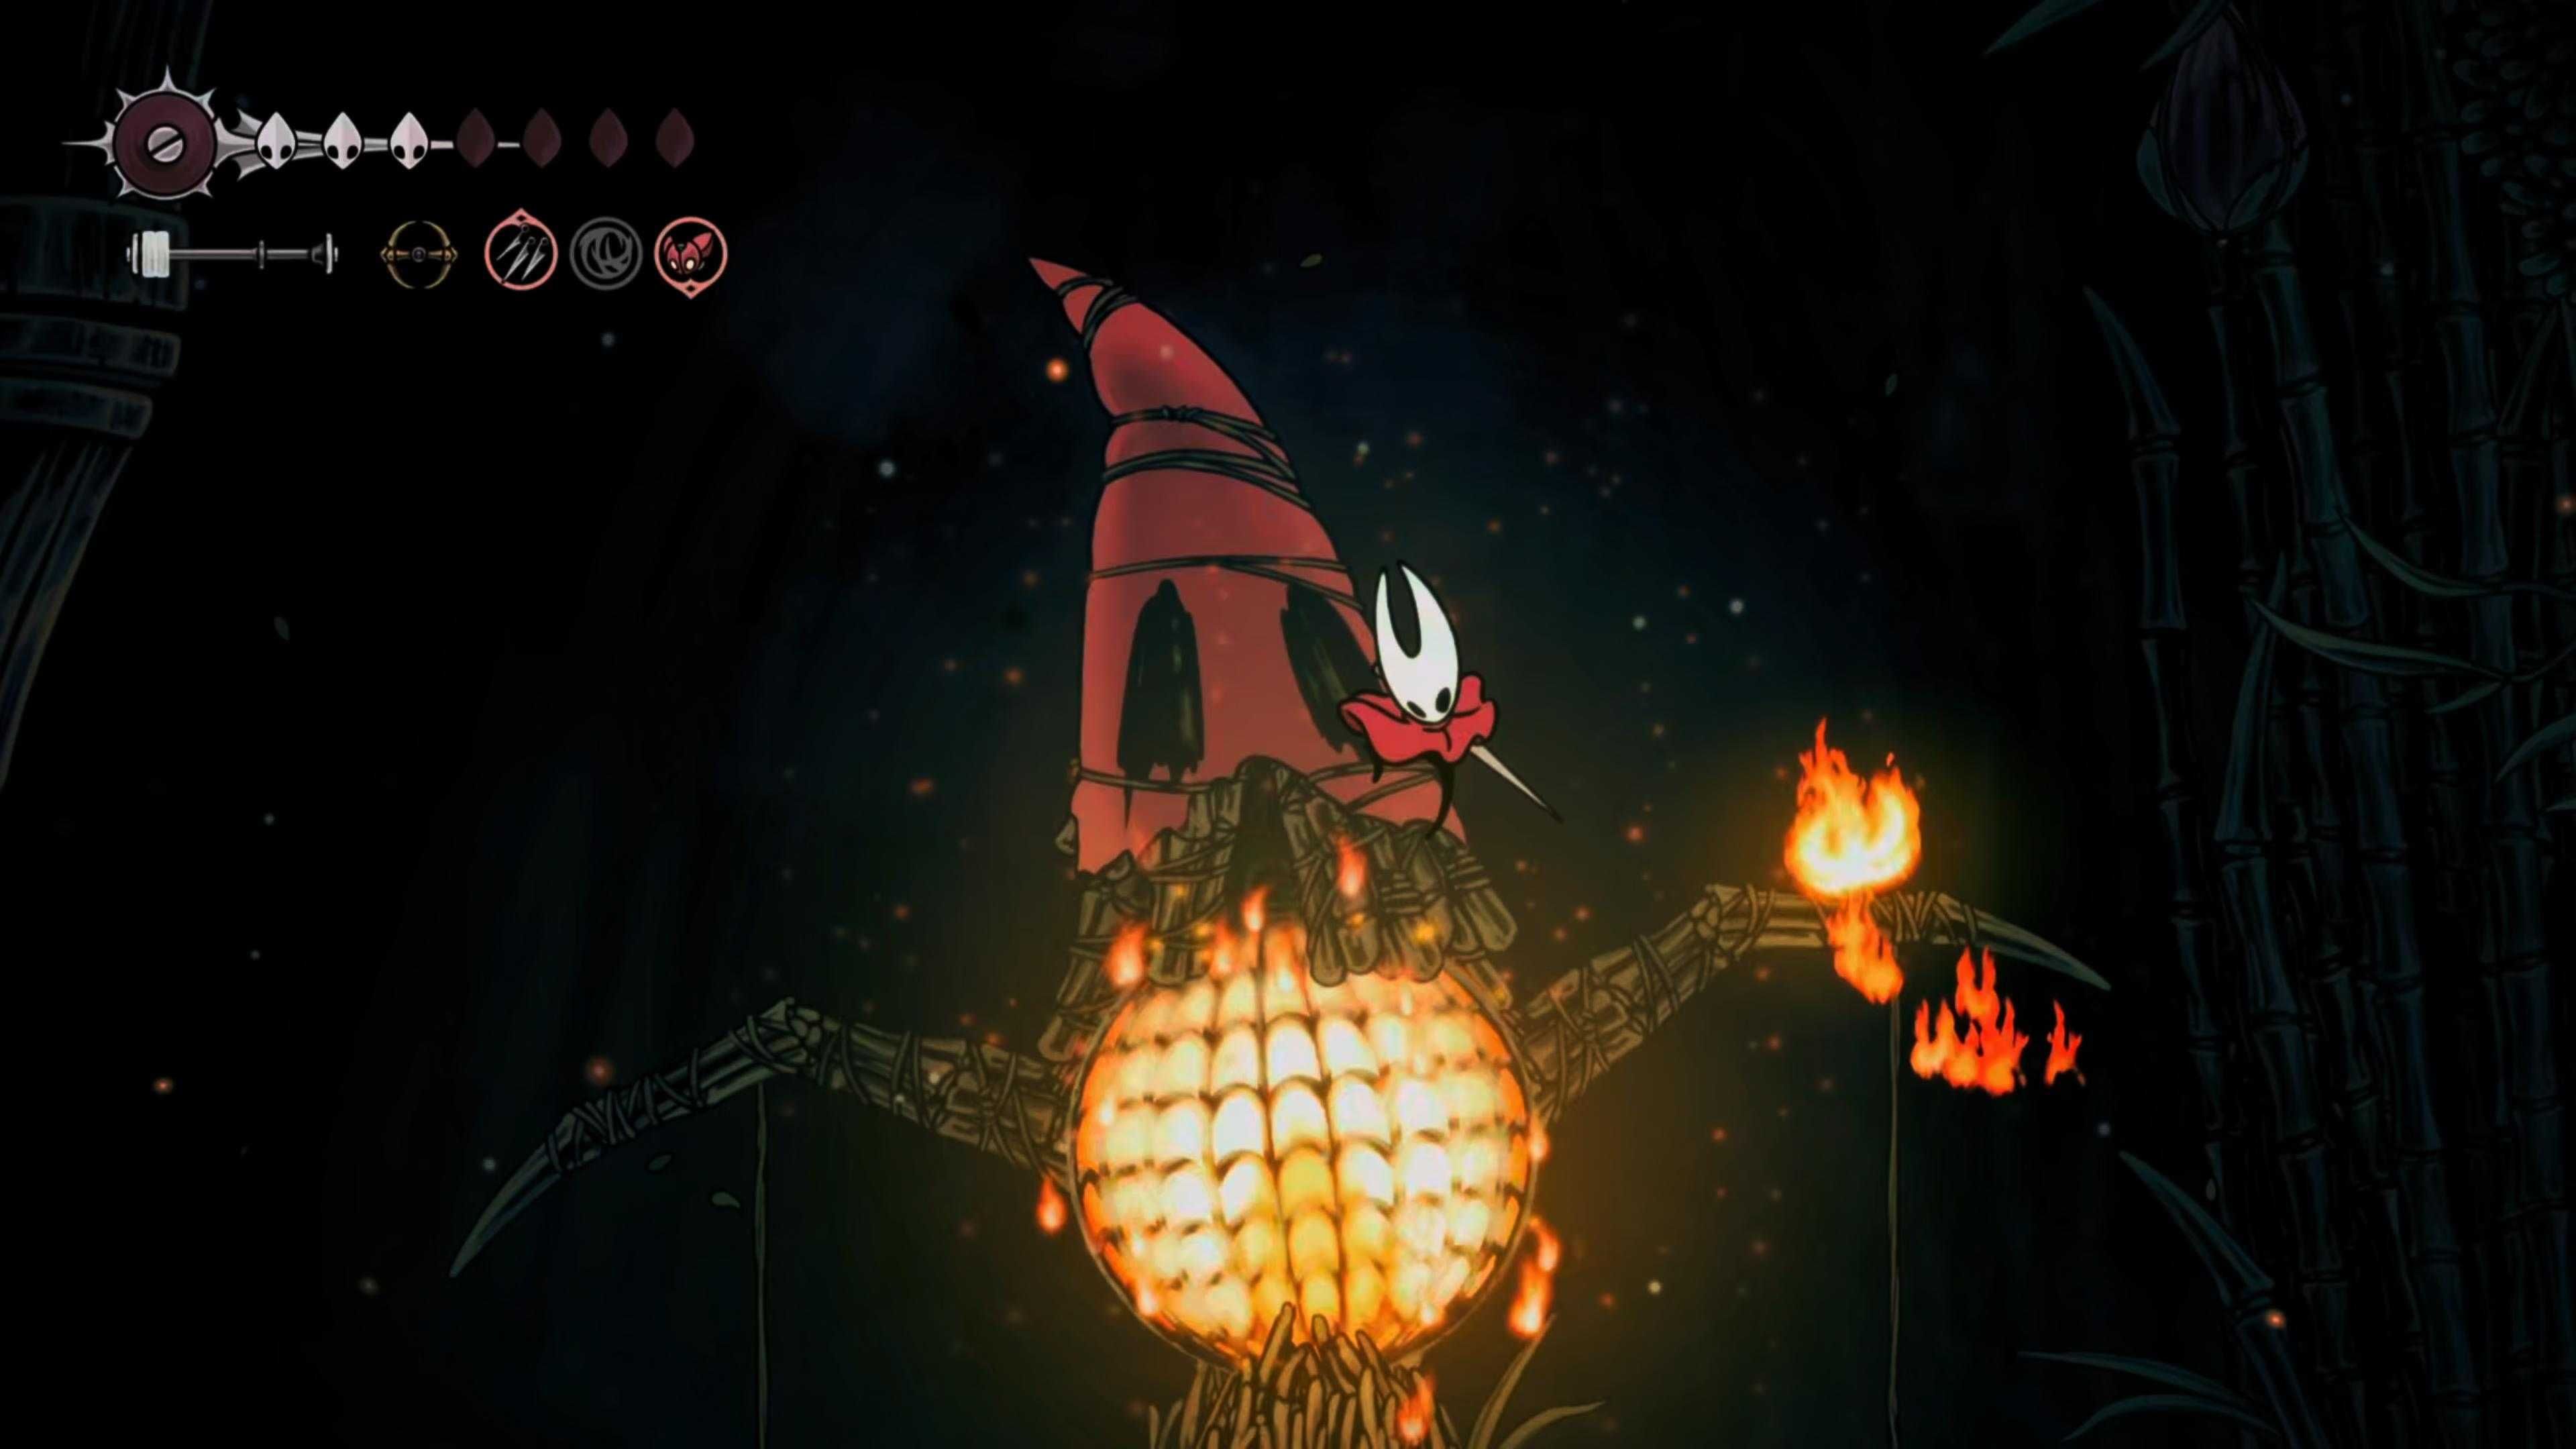
The fight’s ending, which is similar to that of another boss called the Last Judge, consists of Father exploding for a grand sendoff. Although this boss has cool mechanics, it can be defeated by simply pogoing, a technique where the player bounces off the enemy or any object by pressing the attack and down button at the same time in midair. This doesn’t make for fun gameplay.
Tips
- Be Patient With The Fireballs: Father’s fireballs may seem intimidating at first, but they’re fairly easy to avoid even while pogoing. Simply use the double jump when a fireball comes close and you’ll quickly return to pogoing Father to death. This boss doesn’t generate Silk, so being patient is even more crucial due to the need to conserve it.
- Reserve Bind And Druid’s Eye: Reserve Bind can be acquired by defeating Second Sentinel and Druid’s Eye can be obtained and upgraded by Moss Druid after completing the Berry Picking wish. Both of these blue tools can be used for healing since Father doesn’t generate Silk.
- Use Tools: The Delver’s Drill, which is found in the Underworks, the Sting Shard, which is purchased from Forge Daughter in Deep Docks, and the Voltvessels, which are found in the Memorium, are effective against Father. The Cogflies, which are found in High Halls, are useless in this fight.
- Thread Storm: The Thread Storm, which is found in Greymoor, is great for dealing damage to multiple of Father’s arms if it is placed precisely.
8. Skull Tyrant
Skull Tyrant, who is found in The Marrow and Bone Bottom as part of The Terrible Tyrant wish, doesn’t stand out combat-wise when compared to other “Silksong” bosses. It has three simple attacks: a dash, a jump, and bringing down boulders.

Although this boss’s design is simple, it has one of the best introductions in “Silksong.” Skull Tyrant jumpscares the player by suddenly wrecking Bone Bottom and potentially killing an NPC, making fighting it an unforgettable experience.
Tips
- Mind Your Distance: The Skull Tyrant can easily cover large distances, but its attacks have obvious tells. When it does its dash, pogo over it or use your floating ability if you have it. When it jumps, dash either under it or away from it. Attacking during Skull Tyrant’s falling boulder attack is the best way to dish out damage against this boss, so stay close to it and avoid the rocks.
- Use Tools: Using tools is a great strategy when fighting “Silksong’s” bosses. Ground tools like Tacks and Cogwork Wheel, which can be purchased from the Twelfth Architect in Underworks, work well against Skull Tyrant.
- Cheese Method: ”Cheesing” is a “cheap,” unintended tactic used to easily defeat a section of a game. In the first encounter against Skull Tyrant, you can run left and then hop down to the right to find a small tunnel. He is too big to enter it, so you’ll be safe for most of the fight against him.
‘Silksins’ — The Worst Bosses In Silksong
Unlike the previous bosses on this list, these bosses truly stand out. They’re not merely footnotes but entire pages about how frustrating and agonizing their fights were.
7. Palestag
Palestag, who is found in Lost Verdania in Act 3, has only one attack: throwing sharp things. It teleports every second, so it’s hard to hit too.
This boss’s only saving graces are that it has a pretty design and arena and it’s rather easy to beat.
Tips
- Use The Clawline: The clawline, which throws the needle (your weapon) like a harpoon to quickly cross gaps and attack enemies, is found in the Underworks. It is heavily underused as a combat option by some players. Palestag was likely designed with the assumption that the player will use the clawline because it teleports all the time. Using the clawline makes this boss much less annoying to fight.
- Use Tools: Palestag is always teleporting, so only two tools are effective against it: the Tacks and the Cogflies. These tools are effective against Palestag because it will land on the Tacks and the Cogflies will track it as it teleports.
- Use Cross Stitch Or Sharp Dart: Use the Cross Stitch or the Sharp Dart to gain invincibility frames and a chance to hit Palestag. The Sharp Dart can be acquired in Wormways.
6. Broodmother
Broodmother, who is encountered in The Slab as part of The Wailing Mother’s Wish, is disgusting to look at and boring to fight. She only has three attacks: explosive diarrhea babies, a grubby lunge, and slamming her body against the floor and the ceiling five times.

While the fight against Broodmother is boring, the buildup to it, in which her loud moaning can be heard throughout The Slab, is memorable. One of her attacks is a callback to Gruz Mother, the first optional boss of Hollow Knight, which is mildly entertaining. This boss could’ve been more interesting if Broodmother’s exploding babies hurt her.
Tips
- Be Careful Of Her Lunge: While Broodmother’s attacks have obvious tells, her lunge is deceptively difficult to dodge if you’re not paying enough attention. The arena Broodmother is fought in is small and the boss, with her huge body, leaps all the way to the end of it.
- Kill Her Babies: When fighting a boss that summons mobs, the best course of action is to get rid of the mobs immediately. The babies summoned by Broodmother explode and don’t do damage to her, so keep your distance from them.
- Spam Tools: Tools are the best way to “cheese” a boss in “Silksong.” Aerial tools work great against Broodmother, but the Tacks can also counter her lunge and slam attacks.
5. Summoned Savior
The Summoned Savior is a boss exclusive to Steel Soul, a mode in which dying once means game over. The vast majority of players will never fight this boss, and they’re not missing out on much. The Summoned Savior, who is located in Bonegrave as part of the A Vassal Lost wish, has the same moveset as all voided enemies, which have more health and attacks.

Its only unique move is an aerial dash. The Summoned Savior stands out as one of the worst bosses in “Silksong” for that reason, but the lore and atmosphere it provides are unsettling, which makes it stand out in a good way.
Tips
- Keep Your Distance: Knowing when to engage voided enemies and when to back off from them is important because their void attacks have a lot of range. The Summoned Savior is also fought in a small arena, so it’s easy to get backed into a corner.
- Spam Tools: Spam aerial tools if you have the resources to do so to kill the Summoned Savior quickly. The Conchcutter, which is found in Sands of Karak, is a great choice for this fight because the size of its arena makes it more likely that the Conchcutter will strike the Summoned Savior multiple times.
4. Plasmified Zango
The fight against Plasmified Zango, who is found in Act 3 in the Wormways, is a total slogfest. His arena is simple and boring and his attacks are uninspired, easy to dodge, and annoying.
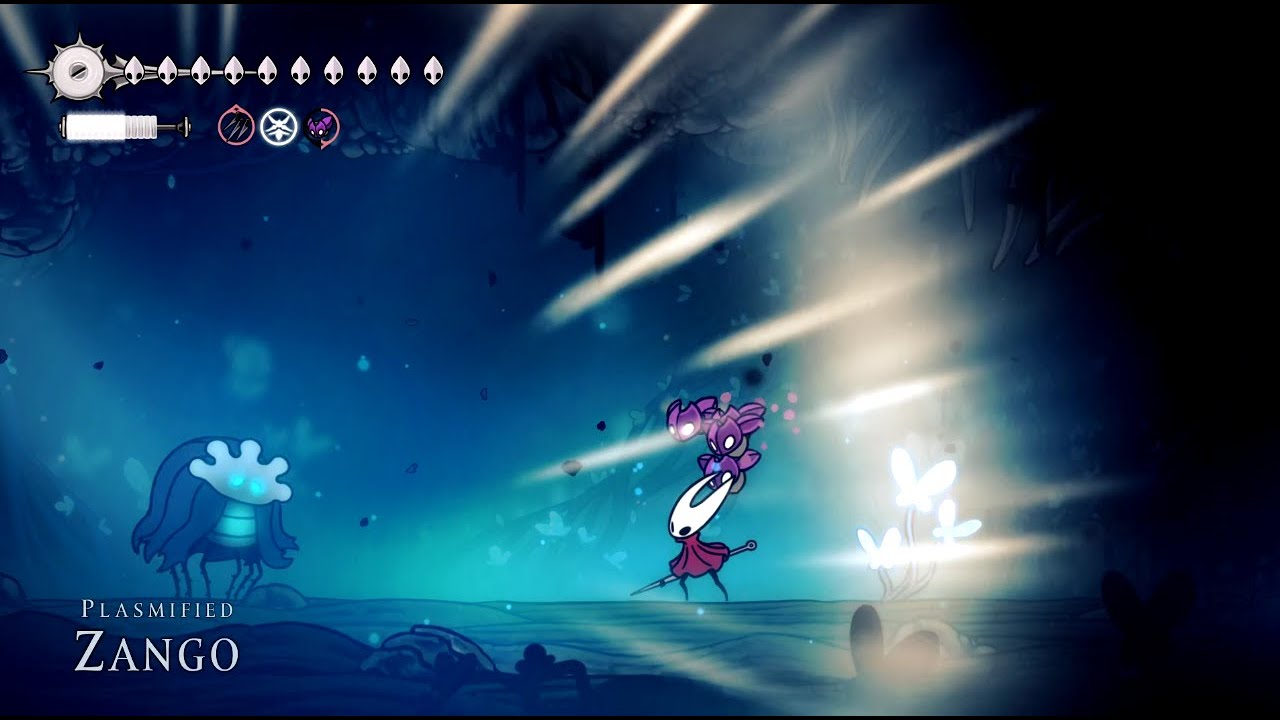
Zango heals himself often if you don’t rush him down quickly enough, but this fight isn’t hard. It’s just tedious.
Tips
- Get The Final Weapon Upgrade: Fully upgrade your weapon. It allows you to deal more damage.
- Spam Poison Tools: Poison tools like the Tacks and Cogwheels work well against Zango, but the best tools to use against him are ones that stick near the ground because he can’t fly or jump.
- Cheese Method: Don’t complete the Alchemist’s quest before fighting Zango. When the Alchemist hands you an Empty Phial as part of that quest, use it against Zango. The Empty Phial is the fastest way to kill him.
3. Savage Beastfly (Hunter’s March)
The difficulty of the fight against Savage Beastfly is heavily dependent on luck due to the random nature of its attacks. Beating it can be a cakewalk or a living nightmare depending on how lucky you are.

The Beastfly can summon three mobs. The first two, a normal Beastfly and a Kilik, are easy to beat, but the third, a Vicious Caranid, is much more powerful. The Beastfly only has two attacks: a dash and a slam, both of which are easy to avoid. Pogoing the Beastfly is difficult because of its wonky hitbox.
Tips
- Kill The Mobs on Sight: The Beastfly is easy to defeat on its own. It’s the mobs the Beastfly summons that make the fight against it difficult. The Beastfly can kill its minions with its slam, but the Vicious Caranid has a high chance of avoiding this attack, so try to take it out immediately.
- Just Do It Later: Unless you really want the Beast crest, which gives Hornet a new self-healing moveset, you should save this fight for later. There is a hidden merchant in Hunter’s March that sells the Fractured Mask, which gives you one extra mask, and the Curveclaw, which is a boomerang. Both are useful to have during this fight if you decide to tackle it early.
2. Savage Beastfly 2 (Far Fields)
The second fight against Savage Beastfly has more annoying elements than the first one. Instead of which enemies it summons being dependent on luck, it will always summon the same rage-inducing enemies.

These enemies not only have the aim of a professional sniper, but they will leave a lingering pile of lava behind when they miss. The Beastfly will destroy the arena’s platforms when doing its groundpound, which makes it easy to fall into the lava if you’re not careful.
Tips
- Equip The Magma Bell: The Magma Bell, which can be purchased from Forge Daughter, reduces all fire damage by one mask. Equipping it will reduce the damage you take from falling into lava and the area’s Tarmite enemies.
- Kill The Mobs On Sight: Use Thread Storm, which is effective against flying enemies, to kill the Beastfly’s mobs immediately. It can also do a lot of damage to the Beastfly. Remember that holding the skill will make it last longer and do more total damage. The Sharp Dart, with its high amount of invincibility frames, is a viable in this fight as well.
- Use Tools: Aerial tools are effective against the Beastfly because it is a flying boss.
- Mild Cheese Method: When the Beastfly summons its mobs, leave the arena and go a decent distance away, but don’t go to the next room. When you come back, the Beastfly’s mobs will despawn.
- Ultimate Cheese Method (Take It Out Back): If you go left from the arena, ride the airdraft, and float right into the small room with rosaries, the Beastfly will follow you and get stuck in the room’s corner. Then, you can smack it until it dies.
1. Groal the Great
Groal is anything but great. This boss is as annoying as the rest of Bilewater, the area in which he is found. The journey to him is the worst in “Silksong.” You’re forced to fight an enemy gauntlet every single time you want to fight Groal again, and the floor is filled with maggots.

Groal’s constant flying and sudden dives make him difficult to hit without risking falling into water or taking damage.
Tips
- Don’t Do Bilewater Early: Bilewater, one of “Silksong’s” most hated areas, should be the last Act 2 area you explore. Saving it for later allows you to have more resources such as masks, spools, and tools. The most important tool to have in Bilewater is the Wreath of Purity. It grants you temporary immunity to the Muckmaggots, making Bilewater much easier.
- Find The Secret Bench: Without the hidden bench in Bilewater, the path back to Groal is at the area’s bell station and takes five minutes to complete. The path to the bench can be found below Groal’s arena and above a long straight hallway. If you go furthest to the right and fall into the maggot water, you can find a breakable wall that leads you to the hidden bench. Use the clawline to avoid touching the maggots when you leave the bench area.
- Use Tools: Groal is often out of your needle attack’s range, so tools are useful in this fight. Groal even has a unique interaction with the Pimpillo, found in Greymoor, when he uses his sucking attack. Long-range tools like the Cogflies, the Straight Pin (found in The Marrow), the Threefold Pin (found in Greymoor), the Sting Shard, the Curveclaw (purchased from Mottled Skarr in Hunter’s March), the Throwing Ring (a reward for completing the Trail’s End wish), the Conchcutter, the Silkshot (obtained by repairing the Ruined Tool found in Weavenest Murglin), the Rosary Cannon (found in High Halls), and the Voltvessels are effective in this fight. The Delver’s Drill is rather fun to use against Groal as well because he’s a big target. If you have room for another blue tool, the Pollip Pouch, which is obtained as a reward for completing the Rite of the Pollip Wish from Greyroot in Shellwood, is a must since it poisons your tools.
- Cheese Method: If you go into a corner of the arena and stay in the water, most of Groal’s attacks won’t hit you. Only Groal’s dive attack and Groal and his friends’ emergence attack remain dangerous when in the water. You can also let him eat you, which allows you to deal a lot of damage, but doing so is risky.
Frustrating…But Fun
“Silksong’s” worst bosses all serve a purpose.
They include a wall that you’re not strong enough to overcome yet, a unique experience, a reference, and a story. “Silksong’s” lowest moments still stand out because all of these bosses are memorable in their own way. Maybe one of them will be your favorite boss to fight.